Installing a mailbox post might seem like a simple task, but it plays a big role in your home’s curb appeal and everyday function. Whether you're setting up a new modern mailbox or replacing an old one, proper installation determine how well your mailbox holds up.
This guide walks you through the process step by step, so you can get it done efficiently—without wasting time, materials, or having to do it over.
Key Takeaways
- Make sure to gather all necessary tools and materials before starting.
- Follow local postal guidelines for mailbox height and placement.
- Consider using a no-concrete method for easy installation.
- Check for stability after installing the mailbox on the post.
- Always refer to the manufacturer's instructions for specific mailbox models.
How to Install a Mailbox Post?

Thinking about tackling a DIY modern mailbox post project? It’s more approachable than you might think. And it can make a big impact on your curb appeal. Plus, there’s something satisfying about getting the job done yourself, as we all know.
First step is to take inventory of the supplies you need and gather them. You’ll need your new post, a post-hole digger or shovel, a level, gravel, concrete mix (unless you’re using a no-concrete method), and a measuring tape. Don’t forget any mailbox accessories like mounting brackets or decorative caps.
Below we’ll provide a basic step-by-step overview. But, first, consider an important step—which is choosing your mailbox post.
Choosing the Right Mailbox Post
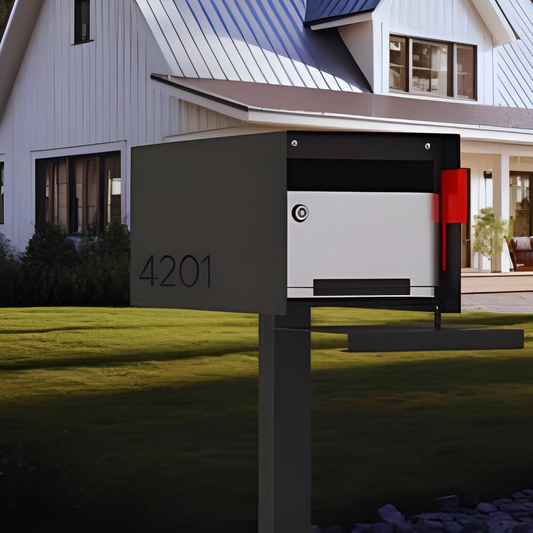
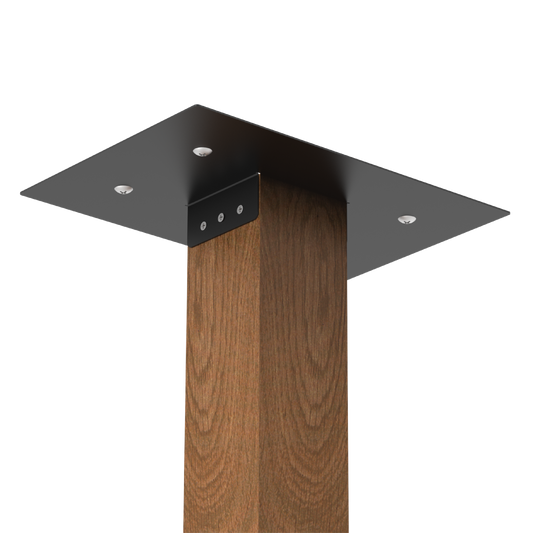
Not all mailbox posts are created equal, especially when you’re going for a modern or design-forward look. While traditional wood posts are common, you might want to consider a more durable, low-maintenance option—especially if you're upgrading your curb appeal.
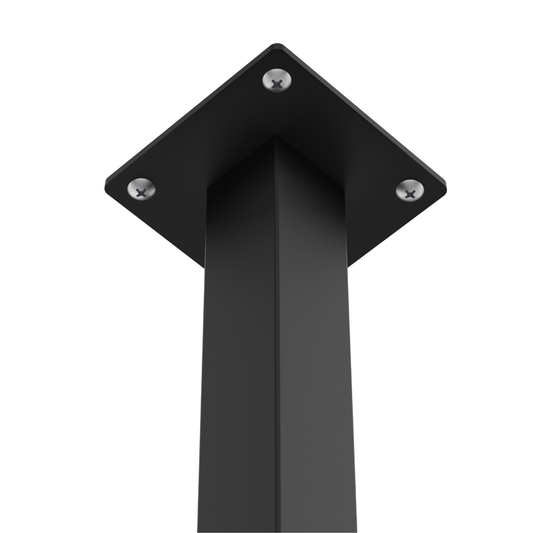
- Look for a post made from powder-coated steel or galvanized metal for maximum weather resistance and long-term durability. These materials are less likely to rust, warp, or degrade over time compared to untreated wood. A clean, minimal profile also complements the sleek lines of a modern mailbox and won’t distract from your home’s overall aesthetic. A metal mailbox post will also match your metal mailbox.
- Ideally, the post should come with pre-drilled holes and compatible mounting hardware to make installation easier and ensure a secure fit. In-ground designs that don’t require a poured concrete pad can also simplify the setup while still offering excellent stability.
Choosing a well-constructed post that balances style, strength, and ease of installation will save you time and effort—not just during setup, but for years down the line.
Installing the Post

Below are the basic steps required to install a mailbox post:
-
Dig the Hole. Use a post-hole digger or shovel to dig a hole approximately 24 inches deep and 8–10 inches in diameter. This depth offers enough support while still allowing the post to “break away” if struck by a vehicle. If you're in a region with frost, dig below the frost line to prevent shifting. Mark your digging location first to ensure proper curb setback (6"–8" from the edge of the road).
-
Add Gravel. Pour 4 to 6 inches of coarse gravel into the bottom of the hole. This improves drainage and prevents rust or rot. Tamp the gravel to create a stable base.
-
Position the Post. Rest the post on the gravel base. Use a level on at least two sides to ensure it’s vertical. A second person helps here. Check alignment from the street.
- Pour the Concrete. Mix fast-setting concrete and pour around the post up to just below ground level. Avoid contact with mounting areas. Tamp to eliminate air pockets and slope the top away from the post. Let it cure 24 hours before attaching the mailbox.
Consider alternative DIY mailbox post designs, but always ensure structural integrity and USPS compliance. Choose a post style that complements your home’s architecture.
How to Install A Mailbox

Installing a mailbox is a simple task, but getting the order right matters—especially when it comes to securing the post and ensuring the mailbox is level and properly aligned.
Before you begin, review USPS guidelines or check with your local post office to confirm requirements for placement, height, and mailbox type.
Here’s how to proceed:
-
Install the post first. Always install and fully secure the mailbox post before attaching the mailbox. This ensures proper height and alignment.
-
Prepare for mounting. After the post is roughly secure, use a level to make sure it is flat at all directions and then fortify the placement. Once level, mark precise placement for the mailbox.
- Attach the mailbox. Use the included hardware. Ensure it’s level and flush before tightening screws. Double-check USPS specs.
Note on wall-mounted mailboxes:
Follow manufacturer instructions. Mount the back plate or body with anchors and screws rated for exterior use.
How to Install a Mailbox On A Post?

Once your mailbox post is installed and secure, the next step is attaching the mailbox. This part is simple, but alignment and secure mounting matter.
-
Position the Mailbox. Line up the mailbox mounting holes with the post or bracket.
-
Secure with Screws or Bolts. Use compatible hardware. Tighten securely but avoid overtightening—especially into wood.
- Check for Level. Ensure it’s level before fully tightening. Adjust as needed.
Confirm your final setup complies with USPS: 41–45 inches from ground to mailbox bottom, and 6–8 inches from the curb.
For modern mailboxes with unique designs, you may need custom brackets. Always follow manufacturer instructions.
How to Install A Mailbox Post Without Concrete
Installing a mailbox post without concrete is practical and often preferred for flexibility, speed, and a cleaner job site.
Why skip the concrete?
-
Faster installation: No mixing, pouring, or curing time required.
- Easier removal or adjustments: Ideal if you're unsure of placement or may move the post.
- Cold-weather installs: No curing issues in freezing temps.
- No mess: Avoids concrete drips and splashes.
Reliable methods include:
Drive-In Ground Spikes or Anchors: Sleeves driven into the ground, with the post secured by bolts or screws. Best for medium to firm soil.
Compacted Gravel: Dig a standard hole, add drainage gravel, and backfill with tightly packed gravel. Tamp down to secure.
Just be sure to follow USPS mailbox guidelines for placement, and check local codes or HOA rules before skipping concrete.
Frequently Asked Questions
What tools do I need to install a mailbox post?
You will need a shovel, post-hole digger, a level, a tape measure, and possibly a hammer or drill, depending on your mailbox post setup.
How deep should I bury the mailbox post?
You should bury the post about 24 inches deep to keep it stable and secure.
What is the best height for a mailbox?
The mailbox should be 41 to 45 inches high from the ground to the bottom of the mailbox.
How far should my mailbox be from the curb?
Your mailbox should be 6 to 8 inches back from the curb to ensure it's accessible for mail delivery.
Are there any specific rules for mailbox installation?
Yes, the USPS has guidelines for placement, including height and distance from the road. Always check those before installing.