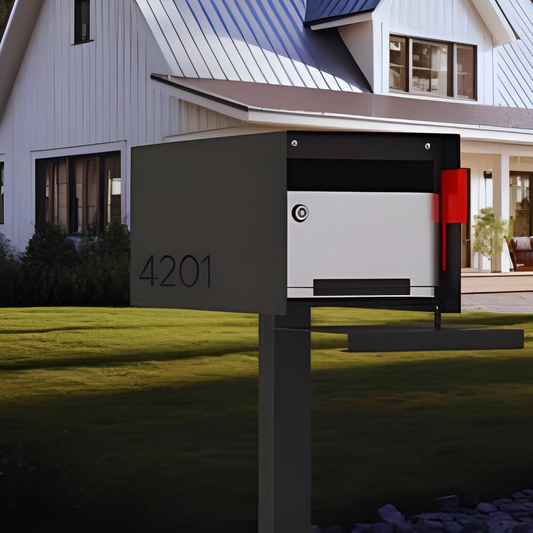
If your mailbox is rusted, damaged, or simply no longer fits your home’s aesthetic, it may be time for a mailbox replacement. Swapping out an outdated or worn mailbox is a relatively straightforward project—and one that can instantly improve your curb appeal. Whether you're replacing for practical reasons or upgrading to a modern design, plan ahead. Before installing a new mailbox, review USPS placement guidelines and check for any HOA requirements that may affect mailbox style, size, or location. With the right materials and a few simple steps, most mailbox replacements can be completed in an afternoon.
Key Takeaways
- Replacing a mailbox is a fairly straightforward DIY task, with the right tools and know-how.
- Always check local regulations before changing mailbox size or location to save yourself unnecessary hassle later on.
- Secure the mailbox post properly to avoid wobbling and to create a permanent, secure placement.
- Recycle old mailbox materials when possible.
Need a Mailbox Replacement?

If your current mailbox is starting to rust, lean, or simply doesn’t match your home’s style, it might be time for a replacement. Whether it’s wear from the elements or a desire for something more secure and modern, this is a manageable project that delivers both form and function.
Common reasons to replace a mailbox include:
- Visible rust, rot, or structural deterioration
- Loose or unstable mounting
- Outdated or mismatched design
- The need for more capacity or a locking mailbox
Replacement goes beyond aesthetics; it’s also about secure, reliable mail delivery. A damaged or insecure mailbox can lead to stolen mail or missed deliveries—and a fresh install can boost curb appeal.
If you live in a community with an HOA, there may be specific rules about what you can install. Check with your HOA before making changes; many associations specify styles, colors, or models. Ignoring these rules can lead to fines or a forced re-do.
How to Replace a Mailbox

Most homeowners can replace a mailbox in an afternoon. If you’re swapping both the mailbox and post, you’ll need the right tools and a bit of care.
1) Remove the Existing Mailbox and Post
Detach the mailbox from the post (usually screws or brackets). If keeping the post, inspect for rot, rust, or weakness first.
If removing the entire setup:
- Expose the base of the post with a shovel or digging bar.
- If set in concrete, dig around the pad and pry it loose (a pry bar, pickaxe, or reciprocating saw can help).
- Pull the post and clear debris from the hole. Call 811 before digging to avoid underground utilities.
2) Prepare the Site for the New Post
Follow USPS placement basics:
- Front of the mailbox: 6"–8" back from the curb or road edge.
- Bottom of the mailbox: 41"–45" above the road surface.
Mark your spot, then dig a hole about 24" deep and 8"–10" wide. In cold climates, go below the frost line.
3) Install the New Post
Add 4"–6" of gravel to the bottom for drainage and tamp firmly. Set the post plumb and brace if needed.
- Concrete method: Pour fast-setting concrete around the post, slope the top away from the post for runoff, and allow ~24 hours to cure.
- No-concrete method: Backfill with soil or crushed gravel in 4"–6" lifts, tamping each layer firmly.
Re-check level as you go to prevent shifting.
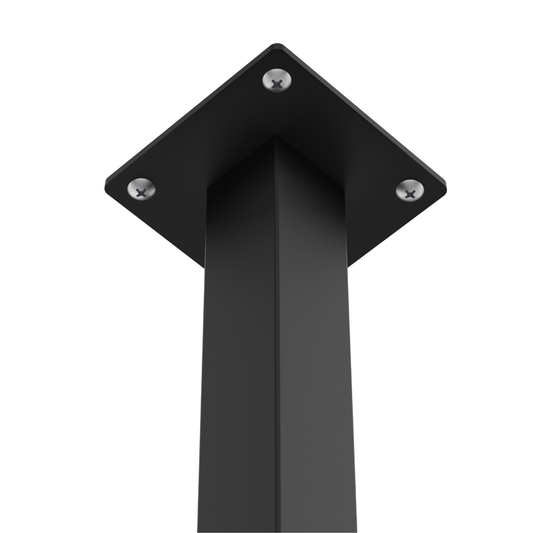
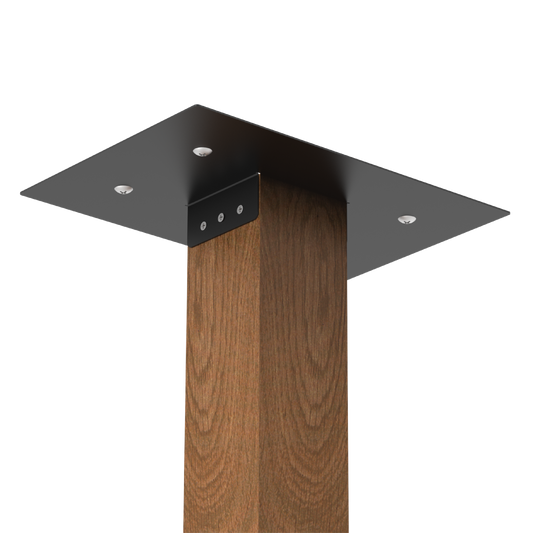
4) Mount the New Mailbox
When the post is stable (and concrete cured, if used), attach the mailbox with corrosion-resistant hardware. Ensure it sits level and follow the manufacturer’s instructions—some modern designs use hidden fasteners, magnetic closures, or specific brackets.
Want to learn more? Explore our guide how to install a mailbox post.
What’s the Cost to Replace a Mailbox?
Costs vary based on what you’re replacing and the materials selected:
- Mailbox: $30–$50 for basic models; $150–$300+ for modern, locking mailbox, or design-forward boxes.
- Post: $20–$30 for treated wood; $100–$200 for powder-coated or architectural posts.
- Installation: DIY saves labor; pros typically charge $100–$250 depending on complexity and location.
-
Supplies & materials: $20–$50 (e.g., concrete, gravel, brackets, tool rental if needed).
- Fast-setting concrete: $6–$15/bag
- Gravel for drainage: $5–$10
- Mounting brackets/screws: included with some boxes; otherwise ~$10–$20
- Tool rental/purchase (post-hole digger, level, etc.): $20–$50 if needed
Typical total: $75 on the low end to $400+ for a complete replacement, depending on materials and DIY vs. pro install.
Can You Replace HOA Mailboxes?

Yes—but the process requires coordination. You’re free to initiate a replacement, but you must follow community rules and USPS standards to avoid violations.
Start with your HOA: Review governing documents for approved styles, colors, materials, and installation methods. Some communities require uniformity or approved vendors.
Don’t forget USPS guidelines: Your setup must meet federal standards for height, distance from curb, and carrier access.
Respect the neighborhood aesthetic: Choose a design that blends with nearby homes to avoid complaints or fines.
- First, check with your HOA for style/size/placement rules.
- Second, ensure compliance with USPS regulations (height, setback, access).
- Third, consider the neighborhood’s overall look and keep it consistent.
Replacing a mailbox in an HOA is about maintaining community standards and compliance. Doing the homework up front prevents fines and rework.
What Are HOA Mailbox Requirements?
Requirements vary by community but generally aim for a consistent, well-kept appearance. Look in your CC&Rs or design guidelines; rules often cover:
- Approved mailbox styles/models (sometimes specific brands)
- Color and finish
- Materials (e.g., aluminum, steel, UV-resistant plastic)
- Post design (shape, color, decorative details)
- Placement/installation aligned with USPS standards
Some HOAs require a specific supplier; others allow flexibility if your choice matches the neighborhood.
Before you buy or install, use this checklist:
- Review HOA documents to identify constraints.
- Submit for approval (often with photos/spec sheets).
- Verify USPS compliance for function and safety.
Skipping these steps can lead to fines, forced removal, or repeat expenses. Following HOA requirements protects your investment and preserves neighborhood harmony.
What Do You Need for HOA Mailbox Replacement?
Plan for preparation, communication, and compliance.
1) HOA Approval & Documentation
- Locate the mailbox policy in the CC&Rs or design guidelines.
- Confirm if specific vendors/styles are required.
- Submit a formal request (photos, measurements, materials) before purchase or install.
2) A Compliant Mailbox and Post
- Select a mailbox that meets HOA standards and your needs (size, durability, locking/parcel features).
- If replacing the post, match required design details (color, accents, shape).
3) USPS Guidelines
- Bottom of box: 41"–45" above the road surface.
- Front of box: 6"–8" back from the curb or road edge.
- Ensure clear access and visible house numbers.
4) Tools and Materials
- Post-hole digger, level, gravel, concrete mix (if needed), and mounting hardware. Follow the manufacturer’s instructions for modern mounting plates/brackets.
Replacing a mailbox in an HOA isn’t difficult, but a thoughtful, process-driven approach prevents headaches and supports your home’s look and neighborhood standards.
Frequently Asked Questions
Why should I replace my mailbox?
If it’s rusting, cracked, unstable, or won’t latch, it no longer protects mail from weather or theft and may fail USPS standards. A modern locking mailbox or weather-sealed design improves security and reliability.
How do I remove an old mailbox?
Unscrew it from the post. If keeping the post, you’re done. If removing the post, dig around the base; for concrete footings, break up and remove the pad before pulling the post.
What tools do I need to install a new mailbox?
At minimum: post-hole digger or shovel, gravel, concrete (if used), level, measuring tape, screwdriver/wrench/drill. Optional: tamper, saw, and bracing materials.
How deep should I dig for the mailbox post?
About 24" is typical for stability. If using compacted gravel backfill (no concrete), dig slightly deeper and compact thoroughly.
Can I choose any mailbox style?
Generally yes, but HOA communities may restrict size, color, material, and design for uniformity. Always verify before purchase.
What should I do with my old mailbox?
Recycle metal or rigid plastic if accepted locally; otherwise use a scrap or hardware recycling facility. Wooden parts may require standard trash or a waste facility drop-off.